The Honeywell T6 Pro Thermostat is a smart, Wi-Fi-enabled device designed for optimal home comfort, featuring advanced temperature control and compatibility with most HVAC systems.
1.1 Overview of the Honeywell T6 Pro Thermostat
The Honeywell T6 Pro Thermostat is a modern, Wi-Fi-enabled programmable thermostat designed for smart home integration. It offers advanced features like geofencing, scheduling, and energy-saving modes. With its sleek design and user-friendly interface, it provides precise temperature control. The T6 Pro is compatible with most HVAC systems and includes the innovative UWP (Universal Wall Plate) mounting system, which simplifies installation and covers old paint marks. It’s an ideal upgrade for homeowners seeking convenience, efficiency, and seamless smart home connectivity.
1.2 Benefits of Upgrading to the T6 Pro Thermostat
Upgrading to the Honeywell T6 Pro Thermostat offers enhanced energy efficiency, remote control through the Honeywell Home app, and smart home integration. It provides geofencing technology, adapting temperatures based on your location, and customizable scheduling for optimized comfort. The UWP mounting system ensures a clean installation, covering previous wall marks. With advanced features like smart alerts and energy usage reports, the T6 Pro delivers convenience, savings, and modern control, making it a valuable upgrade for any home.
Package Contents and Accessories
The Honeywell T6 Pro Thermostat package includes the Lyric T6 PRO Wi-Fi Thermostat, UWP mounting system, Honeywell standard installation adapter, and optional cover plate for seamless installation.
2.1 What’s Included in the Box
The Honeywell T6 Pro Thermostat box contains the Lyric T6 PRO Wi-Fi Thermostat, UWP mounting system, Honeywell standard installation adapter, and optional cover plate. These components ensure a seamless installation process, providing everything needed to mount and connect the thermostat. The UWP mounting system simplifies wall installation, while the optional cover plate helps conceal any gaps left by the previous thermostat. All parts are designed for compatibility and ease of use, ensuring a professional-grade setup without additional purchases.
2.2 Optional Accessories for Installation
Optional accessories for the Honeywell T6 Pro Thermostat include additional cover plates, a J-box adapter, and wiring extensions. These items help customize the installation to fit specific needs, such as covering larger paint gaps or adapting to unique wiring setups. The J-box adapter is ideal for mounting the thermostat directly to an electrical junction box, while extra cover plates provide a cleaner appearance. These accessories are available separately to enhance installation flexibility and ensure a professional-grade finish. They are recommended for addressing specific installation challenges.
2.3 Understanding the UWP Mounting System
The Universal Wall Plate (UWP) system simplifies installation by providing a secure and level base for the thermostat. It mounts directly to the wall, ensuring proper alignment and stability. The UWP includes built-in leveling features and pre-drilled holes for easy installation. This system eliminates the need for additional tools or adjustments, making it a convenient solution for both new installations and retrofits. The UWP ensures a clean and professional appearance, fitting seamlessly with any home decor. It is a key component for a hassle-free setup of the Honeywell T6 Pro Thermostat.
System Requirements and Compatibility
The Honeywell T6 Pro Thermostat is compatible with most HVAC systems, including conventional, heat pump, and dual-fuel setups. It requires a 24V AC power supply and supports both 2- and 4-stage heating/cooling systems. The thermostat works seamlessly with the Honeywell Home app, ensuring remote control and smart home integration. Compatibility checks are essential before installation to ensure proper functionality.
3.1 Checking System Compatibility
Before installing the Honeywell T6 Pro Thermostat, ensure your HVAC system meets compatibility requirements. Verify that your system operates on 24V AC power and supports 2- or 4-stage heating and cooling. The thermostat is compatible with conventional, heat pump, and dual-fuel systems. Check wiring configurations to confirm they match the terminal connections on the T6 Pro. Additionally, ensure your home network supports the thermostat’s Wi-Fi connectivity for smart features. Consulting the installation manual or a professional is recommended if you’re unsure about compatibility. Proper compatibility ensures optimal performance and efficiency.
3.2 Tools and Materials Needed for Installation
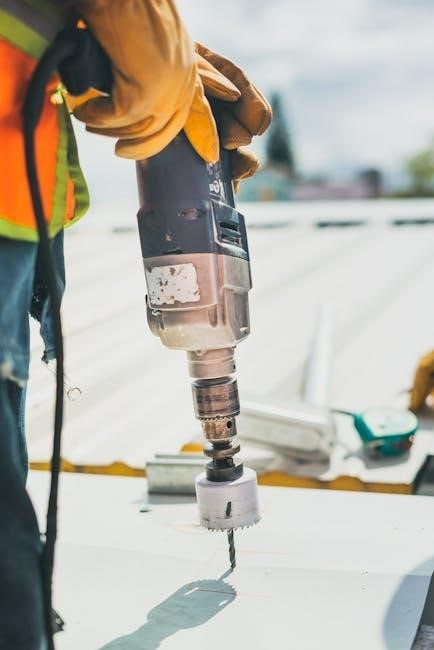
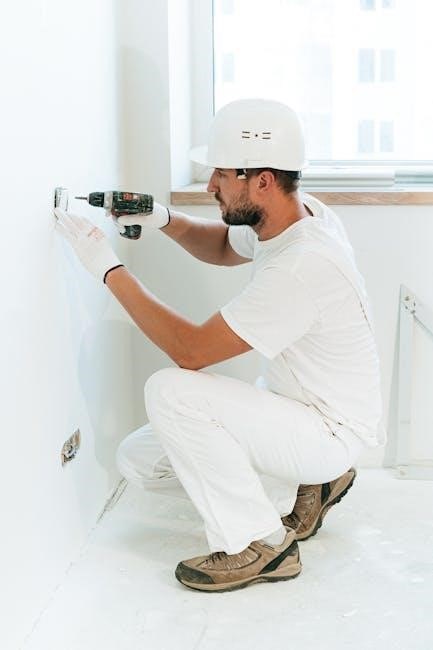
To install the Honeywell T6 Pro Thermostat, you’ll need a Phillips-head screwdriver, wire strippers, and a drill with bits for wall mounting. The UWP mounting system requires screws and wall anchors. A level ensures proper alignment, while a pencil and marker help mark drill locations and label wires. Masking tape can secure wires temporarily. Cable ties and electrical tape keep wiring organized. A voltage tester is essential for safe installation. An optional adapter plate may be needed for certain systems. A ladder or step stool and a smartphone for app setup are also necessary. Always refer to the manual for specific requirements.
Pre-Installation Steps
Before installing the Honeywell T6 Pro Thermostat, ensure the system is powered off and the old thermostat is removed. Prepare the wall and ensure all tools are ready for a smooth installation process.
4.1 Shutting Off Power to the HVAC System
Before starting the installation, locate your home’s circuit breaker or fuse box and switch off the power supply to the HVAC system. Verify the system is completely powered down by checking that the heating or cooling units are not running. This essential step ensures safety during the replacement process. If unsure, consult a licensed electrician. Always prioritize safety to avoid electrical hazards or damage to the system.
4.2 Removing the Old Thermostat
Start by disconnecting the wires from the old thermostat terminals. Take note of the wire connections by labeling them or taking a photo for reference. Gently pull the wires free from the terminal screws. If the thermostat is screwed into the wall, remove the screws and carefully lift it away. If it’s held by clips or snaps, release them to detach the unit. Once removed, inspect the wiring and wall area to ensure no damage or debris remains. This step prepares the space for the new T6 Pro installation.
4.3 Preparing the Wall for Installation
Ensure the wall area is clean and dry before proceeding. If the old thermostat left adhesive residue, gently scrape it off using a soft tool or adhesive remover. Check for any damage or holes in the wall and fill them with spackling compound if necessary. Allow the compound to dry completely before sanding it smooth. If using the UWP mounting system, align it with the wall studs for maximum stability. This step ensures a secure and even installation surface for the new thermostat.
Installation Process
The installation involves mounting the UWP plate, attaching the T6 Pro thermostat, and connecting the wires. Ensure proper alignment and a secure fit for optimal performance.
5.1 Mounting the UWP Plate
Start by unpacking the UWP (Universal Wall Plate) from the box. Position it on the wall, ensuring it is level and aligned with the thermostat’s mounting location. Mark the hole positions lightly with a pencil. Drill pilot holes at the marked spots using a 6mm drill bit. Secure the UWP plate to the wall using the provided screws. Ensure the plate is tightly fastened for stability. If necessary, attach the optional cover plate to conceal any paint gaps from the previous thermostat installation.
5.2 Attaching the T6 Pro Thermostat
Once the UWP plate is securely mounted, align the T6 Pro Thermostat with the plate, ensuring proper fitment. Gently snap the thermostat onto the UWP system until it clicks into place. Verify that the device is evenly aligned and firmly attached. If required, use the provided screws to secure the thermostat to the UWP plate for added stability. Finally, ensure all connections are tight and the thermostat is level before proceeding to the next step.
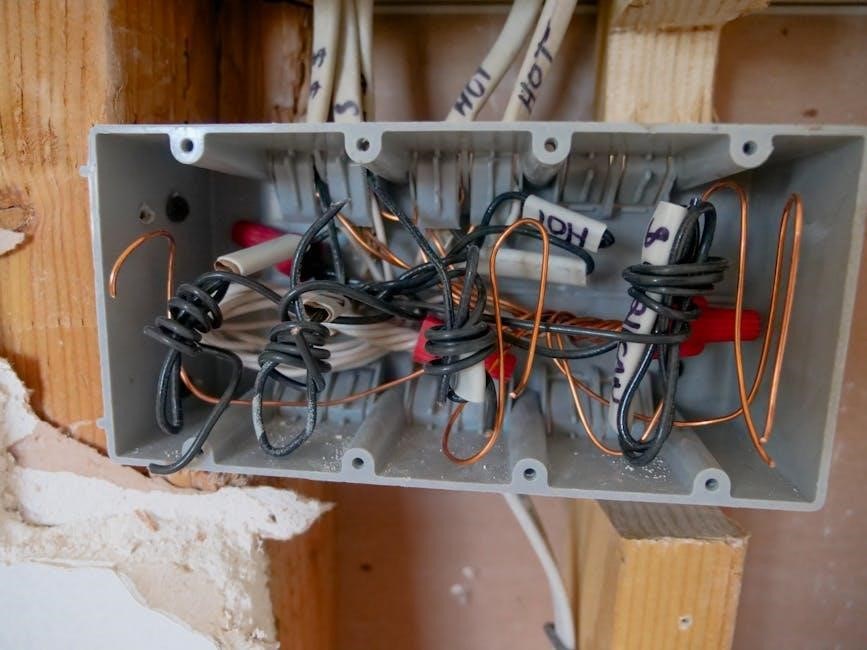
5.3 Connecting the Wires
After attaching the thermostat, connect the wires from your HVAC system to the corresponding terminals on the T6 Pro. Match each wire to its designated terminal (e;g., R, W, Y, G, C) according to your system’s configuration. Use the wire labels provided in the packaging to keep track of connections. Ensure all wires are securely fastened to avoid loose connections. Double-check the wiring diagram in the manual or the Honeywell Home app for accuracy. Once connected, verify that all terminals are tightly secured to ensure proper functionality and safety.
5.4 Securing the Thermostat to the Wall
After attaching the T6 Pro to the UWP plate, align the plate with the pre-drilled holes on the wall. Insert the provided screws through the mounting holes and tighten them firmly to secure the thermostat. Ensure the device is level and evenly positioned. If necessary, use the optional cover plate to conceal any paint gaps from the previous installation. Once secured, verify that the thermostat is snug against the wall and properly aligned for optimal functionality and aesthetics.
Initial Configuration and Setup
Power on the thermostat and follow on-screen prompts to set basic parameters like temperature units and time format. Connect to Wi-Fi and configure the Honeywell Home app.
6.1 Powering On the Thermostat
After installation, plug the Honeywell T6 Pro Thermostat into a power source. Wait for the display to light up, indicating successful power-on. The thermostat will automatically perform a system check. Ensure all wires are securely connected to avoid power issues. Once powered, the thermostat is ready for initial setup. If the screen remains dark, check the circuit breaker or wiring connections. Proper power supply is crucial for optimal functionality.
6.2 Setting Up Basic Parameters
After powering on, navigate to the setup menu to configure basic parameters. Set your preferred temperature range, system type (heating or cooling), and fan operation mode. Choose between manual or automatic operation. Use the touchscreen to adjust settings like temperature limits and system mode. Ensure the date and time are correct for scheduling. These initial configurations will optimize performance and tailor the thermostat to your home’s specific needs. Proper setup ensures efficient temperature control and energy savings.
6.3 Connecting to Wi-Fi
Download the Honeywell Home app from the App Store or Google Play. Open the app and select your Wi-Fi network from the list. Enter your network password to proceed. Ensure the thermostat is powered on and in pairing mode. The app will guide you through the connection process. Once connected, the thermostat will sync with your device, enabling remote control and smart features. A successful connection is confirmed when the thermostat displays your Wi-Fi network name in the app.
6.4 Configuring the Honeywell Home App
Once connected to Wi-Fi, open the Honeywell Home app and create an account or log in if you already have one. Tap “Add Device” and select the T6 Pro Thermostat from the list. Follow the in-app instructions to complete the setup. Configure location settings for accurate temperature control and scheduling. Set preferences like temperature units (°F/°C) and customize your heating/cooling schedule. The app also allows you to enable geofencing and smart alerts for optimal performance. Ensure all settings are saved to finalize the configuration.
Advanced Features and Customization
The Honeywell T6 Pro Thermostat offers advanced features like scheduling, geofencing, and smart home integration. Customize settings for energy efficiency and personalized comfort with ease.
7.1 Scheduling Temperature Settings
The Honeywell T6 Pro Thermostat allows users to create custom temperature schedules, optimizing comfort and energy savings. Through the Honeywell Home app, you can set daily or weekly schedules, adjusting temperatures based on your routine. Energy efficiency is enhanced by automating temperature adjustments when you’re away or asleep. The thermostat also supports geofencing, automatically changing settings as you leave or arrive home. This feature ensures your system runs only when needed, reducing energy waste and lowering utility bills.
- Set up to 6 periods per day for heating and cooling.
- Customize schedules for weekdays and weekends.
- Receive energy usage reports for smarter decisions.
7.2 Geofencing and Location-Based Control
The Honeywell T6 Pro Thermostat integrates geofencing technology, enabling location-based temperature control through the Honeywell Home app. This feature automatically adjusts your thermostat settings based on your phone’s location, ensuring energy efficiency when you’re away and comfort when you return. Geofencing learns your home and away status, activating predefined temperature profiles. This smart automation minimizes manual adjustments and optimizes energy usage without compromising comfort.
- Set a geofence radius around your home.
- Automatically switch to energy-saving modes.
- Receive notifications when location-based changes occur.
7.3 Integrating with Smart Home Devices
The Honeywell T6 Pro Thermostat seamlessly integrates with popular smart home systems like Samsung SmartThings and Amazon Alexa. Using voice commands or smart home hubs, you can control temperature settings effortlessly. The Honeywell Home app allows for unified control of all connected devices, creating a cohesive smart home ecosystem. This integration enhances convenience, enabling voice-activated adjustments and automated scene settings for optimal comfort and energy efficiency.
Troubleshooting Common Issues
This section addresses frequent problems such as connectivity issues, error codes, and installation mistakes, providing solutions to ensure smooth operation of the T6 Pro Thermostat.
8.1 Common Installation Errors
Common installation errors include incorrect wiring connections, improper UWP plate alignment, and failure to level the thermostat. Ensure all wires are securely attached to the correct terminals, and the UWP plate is properly mounted. If the thermostat isn’t level, it may affect temperature accuracy. Additionally, not turning off the HVAC system before installation can lead to electrical issues or damage. Always follow the manual’s step-by-step guide to avoid these mistakes.
8.2 Resolving Connectivity Problems
Connectivity issues with the Honeywell T6 Pro Thermostat often arise from unstable internet connections or incorrect Wi-Fi setup. Ensure your router is functioning properly and restart both the thermostat and router. If issues persist, reset the thermostat by removing it from the wall plate and reconnecting it. Use the Honeywell Home app to re-enter your Wi-Fi credentials or check for firmware updates. Verify that the thermostat is connected to the correct network and that no network outages are occurring. If problems remain, consult the troubleshooting section in the manual.
8.3 Understanding Error Codes
The Honeywell T6 Pro Thermostat displays error codes to identify specific issues. Common codes include E1 (temperature sensor malfunction), E2 (invalid temperature settings), and E3 (communication failure). Refer to the manual or app for code meanings. To resolve, check wiring connections, ensure proper sensor placement, or restart the system. If issues persist, reset the thermostat or contact Honeywell support. Error codes guide troubleshooting, ensuring optimal performance and quick resolution of problems.
Maintenance and Upkeep
Regularly clean the thermostat with a soft cloth and ensure proper software updates for optimal performance. This maintains accuracy and extends the device’s lifespan effectively.
9.1 Cleaning the Thermostat
Use a soft, dry cloth to gently wipe the Honeywell T6 Pro Thermostat’s display and surface. Avoid harsh chemicals or liquids, as they may damage the device. For stubborn marks, lightly dampen the cloth with water, but ensure no moisture enters the thermostat. Regular cleaning prevents dust buildup, ensuring accurate temperature readings. Refer to the Honeywell Home app for maintenance reminders. This simple routine helps maintain optimal performance and extends the lifespan of your thermostat.
9.2 Updating Software and Firmware
Regular software and firmware updates are crucial for optimal performance and security. Use the Honeywell Home app to check for updates and install them automatically. Ensure the thermostat is connected to Wi-Fi before updating. Updates enhance features, fix issues, and improve compatibility. The process is straightforward and requires no technical expertise. Always follow on-screen instructions to avoid interruptions. Keeping the system up-to-date ensures you benefit from the latest advancements and improvements in your Honeywell T6 Pro Thermostat.
The Honeywell T6 Pro Thermostat offers advanced temperature control, smart home integration, and energy efficiency. Proper installation and maintenance ensure optimal performance. Explore its features and settings for enhanced comfort and convenience.
10.1 Final Tips for Optimal Performance
To maximize your Honeywell T6 Pro Thermostat’s efficiency, regularly clean the unit and update its software. Use the Honeywell Home app for remote adjustments and scheduling. Ensure proper installation, including leveling the UWP plate and securing all wires. For advanced features, enable geofencing and smart home integrations. Refer to the manual for troubleshooting common issues and error codes. Maintain consistent temperature settings to optimize energy savings and system longevity.
10.2 Resources for Further Assistance
For additional support, visit the official Honeywell website for comprehensive guides and FAQs. Download the Honeywell Home app for app-based troubleshooting. Refer to the T6 Pro Installation Manual or contact Honeywell’s customer support. Explore community forums like the VW T6 Forum for shared experiences. These resources provide detailed insights, troubleshooting tips, and advanced feature setups to ensure optimal performance and resolve any installation or operational issues efficiently.