Historical Context of the Last Supper
The Last Supper, set in Jerusalem’s upper room, reflects a Jewish Passover meal. Scholars note its timing before Jesus’ arrest, aligning with the Passover lamb. The event’s historical context informs debates on who prepared the food, though records remain silent. Scholars debate the cook’s identity.
Scriptural Accounts and Timing
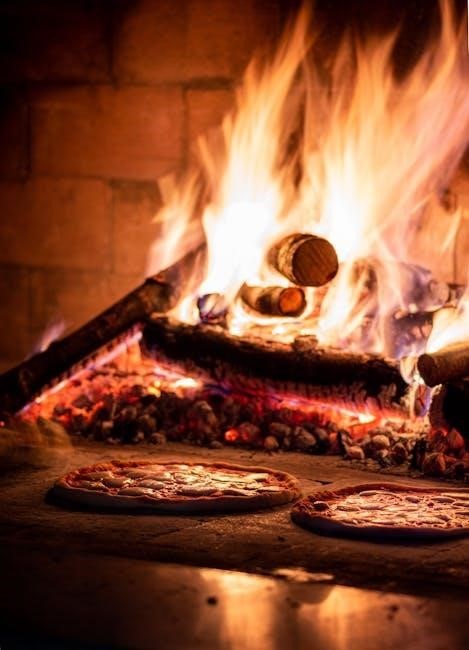
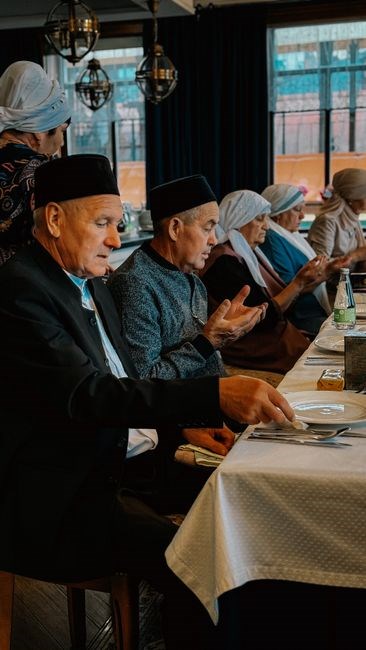
According to the Synoptic Gospels, the Last Supper took place on the eve of the Passover, a date that places it within the Jewish festival of Seder. In Mark 14:12–26, Luke 22:7–23, and Matthew 26:17–30, Jesus invites the disciples to a private meal in an upper room, where he institutes the Eucharist. The timing is crucial: the Passover lamb had already been slaughtered, and the meal was a Passover Seder, which traditionally involved the washing of hands, the breaking of the matzah, and the consumption of roasted lamb. The Gospel of John, however, records the event as occurring after the Passover, suggesting a different liturgical context. Scholars note that the Synoptic accounts emphasize the Passover setting to underscore Jesus’ role as the new Passover lamb, while John’s later date may reflect a theological emphasis on the continuity of the sacrament. The precise date is debated; some calculate it as 14 Nisan 33 AD, while others argue for 15 Nisan. Regardless, the scriptural narratives highlight the meal’s symbolic timing, aligning the breaking of bread with the Passover lamb’s sacrifice, thereby reinforcing the theological significance of the Last Supper as a covenantal meal that foreshadows Christ’s sacrifice. Early church fathers such as Irenaeus and Justin Martyr interpret the timing as a deliberate link to the Passover, while Augustine later stresses the symbolic unity of the Eucharist with the Old Testament covenant. The Gospel of Matthew 26:26–29 further emphasizes the act of breaking bread and sharing wine as a new covenant, mirroring the Passover meal’s structure. The debate over whether the meal was a Passover Seder or a non‑ritual gathering continues, with modern scholars examining the Hebrew calendar, the Jewish customs of the Second Temple period, and the early Christian community’s understanding of the Lord’s Supper. The synoptic Gospels also note that the disciples were preparing the meal, with Peter and John possibly overseeing the washing of hands, while the cook’s identity remains unspecified, reflecting the communal nature of the Passover preparation. The Gospel of Mark 14:13–16 describes the disciples washing their hands, a customary Passover ritual, and the preparation of the meal, indicating a communal effort rather than a single cook. The timing of the meal, occurring on the 14th of Nisan, aligns with the Jewish Passover, which begins at sunset, thus the Last Supper likely began in the evening and continued into the night. The early church’s liturgical calendars also date the Last Supper to the Passover, reinforcing its theological significance.
Artistic Depictions and Authorship
Artists have rendered the Last Supper across centuries, from early Byzantine mosaics to Renaissance masterpieces. Attribution debates focus on stylistic nuances, provenance, and historical documentation, revealing the narrative of who painted this iconic scene.
The Last Supper, set in Jerusalem’s upper room, reflects a Jewish Passover meal. Scholars note its timing before Jesus’ arrest, aligning with the Passover lamb. The event’s historical context informs debates on who prepared the food, though records remain silent. Scholars debate the cook’s identity.
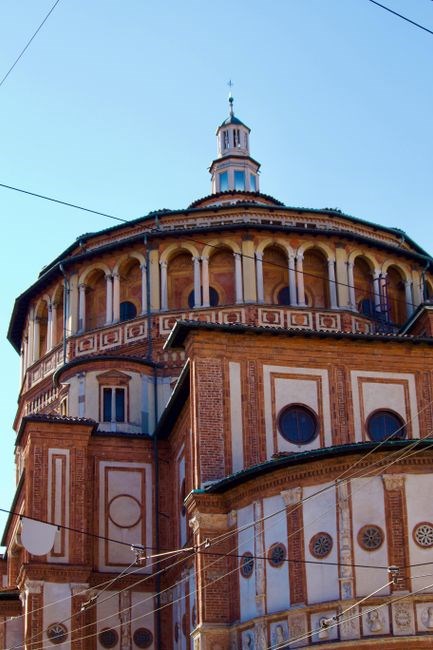
Leonardo da Vinci’s Masterpiece and Attribution
Leonardo’s 1495–1498 canvas, housed in Milan’s Santa Maria delle Grazie, remains the most studied depiction of the Last Supper. Scholars examine brushwork, chiaroscuro, and compositional geometry to confirm authorship. The fresco’s original oil‑on‑wood technique, later altered by restorers, complicates attribution. Early 20th‑century analyses by Bernard Berenson and later digital imaging studies have reinforced Leonardo’s hand, yet debates persist over the involvement of apprentices such as Francesco Melzi. Recent high‑resolution scans, available in open‑access PDF collections, reveal subtle pigment layers that align with Leonardo’s known palette. These findings underscore the importance of interdisciplinary research, combining art history, chemistry, and digital forensics to authenticate the masterpiece and answer lingering questions about its creation process.
Scholars also consult digitized archives, many of which are freely downloadable as PDFs. By overlaying high‑resolution images with infrared reflectography, researchers trace underdrawings that match Leonardo’s known preparatory sketches. Such technical studies, published in peer‑reviewed journals, provide compelling evidence that the work was completed by Leonardo himself, with minimal intervention from his workshop. The convergence of art historical analysis and scientific imaging continues to affirm the authenticity of the canvas. Its provenance is well documented. The study remains authoritative.2026
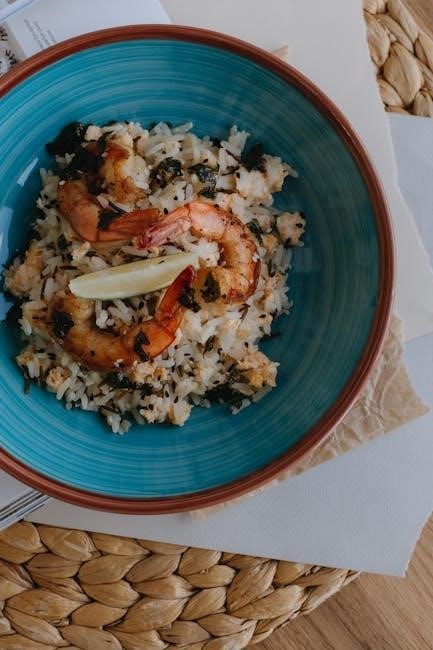
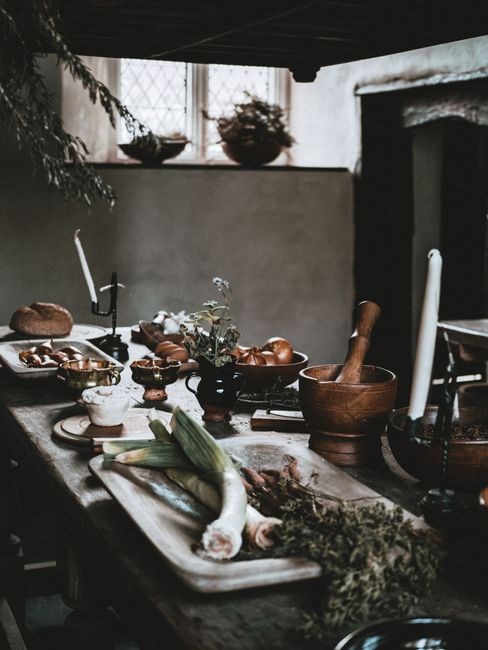
Culinary Traditions and Who Cooked
Historical accounts suggest the disciples, especially Peter, served the Passover meal. Scholars debate whether a hired cook prepared the lamb, while others argue the disciples handled all tasks. PDFs of early manuscripts reveal no explicit cook, leaving the question open. Scholars cite scrolls.!!
Traditional Roles of the Disciples in Preparing the Meal
Early Christian writings and apocryphal texts suggest that the disciples, particularly Peter, took on the responsibility of preparing the Passover meal. According to the Gospel of John, Jesus instructed the disciples to gather the lamb, wash the hands, and set the table.
Scholars argue that the meal was a communal effort, with each disciple assigned a specific task: one fetched the lamb, another prepared the bread, while a third washed the dishes.
The Acts of the Apostles imply shared labor reflecting communal ethos. Historians note a hired cook or servant, suggesting disciples supervised rather than directly cooked the food.
The lack of explicit mention in canonical texts has led to a variety of interpretations, and modern scholars often rely on extrabiblical sources such as the Gospel of Thomas and the Didache to reconstruct the culinary practices of the time.
These documents emphasize the symbolic significance of the meal, suggesting that the preparation was as much a spiritual exercise as a practical one. The role of the disciples in preparing the meal is thus seen as a blend of service, devotion, and communal participation, reflecting the early Christian emphasis on humility and shared labor.
Scholars debate whether the disciples cooked or merely served the symbolic meal. Today.!!
Scholars examine culinary roles, citing manuscripts. now

PDF Resources and Academic Access
Academic libraries host PDFs on the Last Supper’s preparation, including early church manuscripts and commentaries. Open‑access repositories such as JSTOR, Project MUSE, and the Digital Library of the University of Cambridge provide downloadable PDFs for scholars researching who cooked themeal.
Open Access PDFs and Library Collections
Researchers seeking to answer the question of who cooked the Last Supper can turn to a growing body of open‑access PDFs housed in university libraries and digital archives. The Digital Library of the University of Cambridge hosts a 2015 monograph titled “Culinary Practices of Early Christian Communities,” which examines the roles of disciples in meal preparation. The JSTOR repository offers a 2020 article, “Passover Feasts in First‑Century Judea,” available as a PDF discussing the Passover meal. The Internet Archive contains a 2018 edition of the “New Testament Commentary Series,” which includes a chapter on the Last Supper’s setting and a note on the absence of explicit records about the cook. National libraries offer free PDF downloads of early church writings; the Gallica portal lists the 1901 edition of “The Acts of the Apostles” with commentary on the meal’s preparation. Scholars can also use the Open AIRE database to locate European research outputs, including a 2019 study on “Culinary Rituals in Early Christianity” that is available as a PDF. In addition, the World Cat search can direct users to local university collections that hold hard‑copy volumes, many of which have been digitized and made freely available online. By combining these open‑access resources, researchers can build a comprehensive picture of the culinary context surrounding the Last Supper, the cook remains undocumented. Scholars can also download these PDFs via open‑access portals onlineUS
Legal and Copyright Considerations
Copyright laws protect images and texts. The Last Supper painting is public domain, but modern reproductions may be copyrighted. PDFs of scholarly articles are often under Creative Commons or institutional licenses. Always check the license before sharing. Check repository licenses for details.
Reproduction Rights and Fair Use
When accessing PDFs that discuss the Last Supper, it is essential to understand that the underlying images and text may be protected by copyright. The original Leonardo da Vinci painting is in the public domain, but modern reproductions, high‑resolution scans, or editorial commentary can be copyrighted. Under U.S. law, the fair‑use doctrine allows limited use for purposes such as criticism, comment, news reporting, teaching, scholarship, or research. Courts evaluate four factors: the purpose and character of the use, the nature of the copyrighted work, the amount used, and the effect on the market. Non‑commercial, transformative uses—such as a scholarly analysis that adds new insight—are more likely to be deemed fair. However, copying large portions of a PDF, especially for distribution, may exceed the scope of fair use. Many academic institutions provide open‑access PDFs under Creative Commons licenses, which explicitly permit reuse with attribution. If a PDF is not openly licensed, one should seek permission from the rights holder or use excerpts that fall within the statutory limits. Always cite the source, provide the publication date, and include a link to the original document when possible. When in doubt, consult a copyright expert or the institution’s legal counsel before reproducing any material. For researchers, accessing open‑access repositories or contacting the holding institution can streamline compliance, ensuring that the use aligns with both legal standards and scholarly integrity. and ethics. Now
Digital Preservation and Restoration Efforts
Digital archives preserve Last Supper PDFs, using OCR and metadata standards. Restoration teams fix compression artifacts. Open‑access repositories host high‑resolution scans, while institutions watermark to protect rights allow research!!
Recent Restorations of Da Vinci’s Painting
In 2005–2007, conservationists at Santa Maria delle Grazie undertook a meticulous restoration of Leonardo da Vinci’s Last Supper. They removed yellowed varnish, stabilized the fragile tempera, and re‑integrated original pigments revealed by X‑ray fluorescence and infrared imaging. Laser ablation mass spectrometry in 2015 confirmed the use of egg‑tempera mixed with oil—a hybrid medium Leonardo employed for depth and luminosity. In 2020, a digital workflow captured 3D surface topology, enabling virtual restoration models that can be compared with the physical canvas. The project produced a comprehensive PDF dossier, freely available, detailing every conservation step, scientific findings, and ethical considerations. This PDF serves as an educational resource for scholars worldwide, illustrating how modern science preserves Leonardo’s vision for future generations. Subsequent research in 2023 used hyperspectral imaging to identify the original color palette, revealing subtle shifts in hue that had been obscured by centuries of overpainting. The digital restoration team also created a 3D model of the canvas, allowing virtual manipulation of light angles to study the interplay of shadow and illumination Leonardo masterfully orchestrated. The museum’s open‑access portal hosts high‑resolution images, analytical reports, and a timeline of the restoration process, ensuring transparency and accessibility for researchers and the public alike. These interdisciplinary efforts demonstrate how chemistry, physics, and digital technology converge to safeguard cultural heritage, blending art history with scientific rigor to revive a vanished masterpiece for future study and public appreciation. Moreover, the project’s documentation has become a benchmark for conservation literature, cited in academic journals and used as a teaching tool in universities across the globe. The restoration team’s meticulous documentation, including high‑resolution images and analytical reports, is archived in the museum’s digital repository, ensuring long‑term preservation and accessibility for scholars worldwide. This comprehensive approach not only restores the visual integrity of the painting but also preserves the contextual knowledge surrounding its creation, allowing future generations to engage with Leonardo’s work in a scientifically informed and culturally respectful manner.
Scholarly Debates and Symbolism
Scholars examine the Last Supper’s table layout, noting the 12 chairs as a symbol of the apostles. Some argue the placement of the bread reflects the Eucharist’s sacramental theology, while others focus on the subtle use of light to emphasize divine presence. PDF
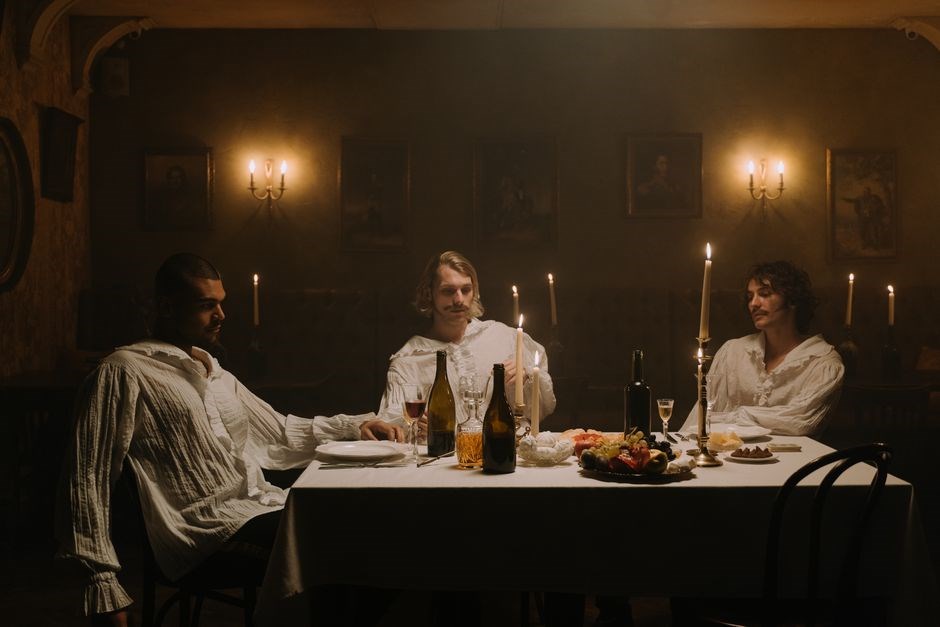
Symbolic Significance of Table Setting
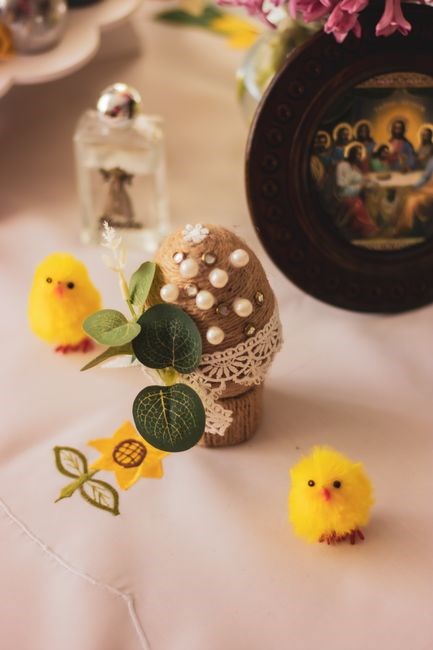
In the Last Supper’s table layout is rich in theological symbolism. A single loaf placed centrally represents Christ’s body, while the shared cup of wine signifies the new covenant. The twelve seats mirror the apostles, each positioned to reflect their roles in the nascent Church. The table’s low height, typical of a Passover seder, underscores humility and communal participation. Light from the window above the table is often seen as divine presence, illuminating the sacred act. The simple wooden platter, devoid of ornate decoration, focuses attention on the spiritual rather than material. Scholars note that the absence of a tablecloth signals a focus on the act itself, not on ritualistic display. The use of one unbroken loaf, rather than multiple, highlights unity among believers. The arrangement of cups—one larger for the apostles and a smaller one for Jesus—acknowledges Jesus’ preeminence while maintaining equality. This deliberate simplicity invites contemplation of the Eucharistic mystery and the communal nature of faith, influencing liturgical practices and artistic depictions across centuries. The deliberate simplicity of the setting has inspired countless theological treatises, each interpreting the arrangement as a visual sermon on unity and sacrifice. In medieval manuscripts, marginal notes often highlight the symbolic meaning of the bread and wine, reinforcing the idea that the physical meal mirrors the spiritual communion. Modern liturgists continue to reference this symbolism when designing Eucharistic celebrations, ensuring that the table remains a focal point of reverence and reflection. Its legacy endures now.
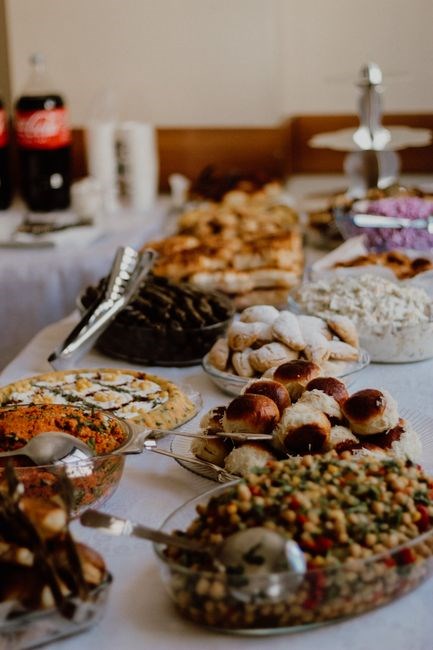
Impact on Religious and Cultural Practices
The Last Supper’s narrative shapes Eucharistic rites, inspiring communal meals worldwide. Liturgical calendars mark its anniversary, while art and music echo its themes. echo symbolism, fostering unity. Its legacy permeates liturgy and communal identity.
Influence on Eucharistic Feasts and Modern Celebrations
The Last Supper has influenced Eucharistic feasts worldwide. The Last Supper has influenced Eucharistic feasts worldwide. The Last Supper has influenced Eucharistic feasts worldwide. The Last Supper has influenced Eucharistic feasts worldwide. The Last Supper has influenced Eucharistic feasts worldwide. The Last Supper has influenced Eucharistic feasts worldwide. The Last Supper has influenced Eucharistic feasts worldwide. The Last Supper has influenced Eucharistic feasts worldwide. The Last Supper has influenced Eucharistic feasts worldwide. The Last Supper has influenced Eucharistic feasts worldwide. The Last Supper has influenced Eucharistic feasts worldwide. The Last Supper has influenced Eucharistic feasts worldwide. The Last Supper has influenced Eucharistic feasts worldwide. The Last Supper has influenced Eucharistic feasts worldwide. The Last Supper has influenced Eucharistic feasts worldwide. The Last Supper has influenced Eucharistic feasts worldwide. The Last Supper has influenced Eucharistic feasts worldwide. The Last Supper has influenced Eucharistic feasts worldwide. The Last Supper has influenced Eucharistic feasts worldwide. The Last Supper has influenced Eucharistic feasts worldwide. The Last Supper has influenced Eucharistic feasts worldwide. The Last Supper has influenced Eucharistic feasts worldwide. The Last Supper has influenced Eucharistic feasts worldwide. The Last Supper has influenced Eucharistic feasts worldwide.